学越千山:PS练习色彩范围抠图

分享兴趣,传播快乐,增长见闻,留下美好!
亲爱的您,这里是新学苑。
今天小编为大家带来“PS练习色彩范围抠图”,欢迎您的访问。
, , , and !
Dear, this is the !
, the the “PS练习色彩范围抠图”.
to .
今天我们练习色彩范围抠图。 we .
首先打开图片素材。 open the .
在菜单栏的选择中找到色彩范围(或“S+C”)。
这时可以选择已有颜色,也可以选择取样颜色。
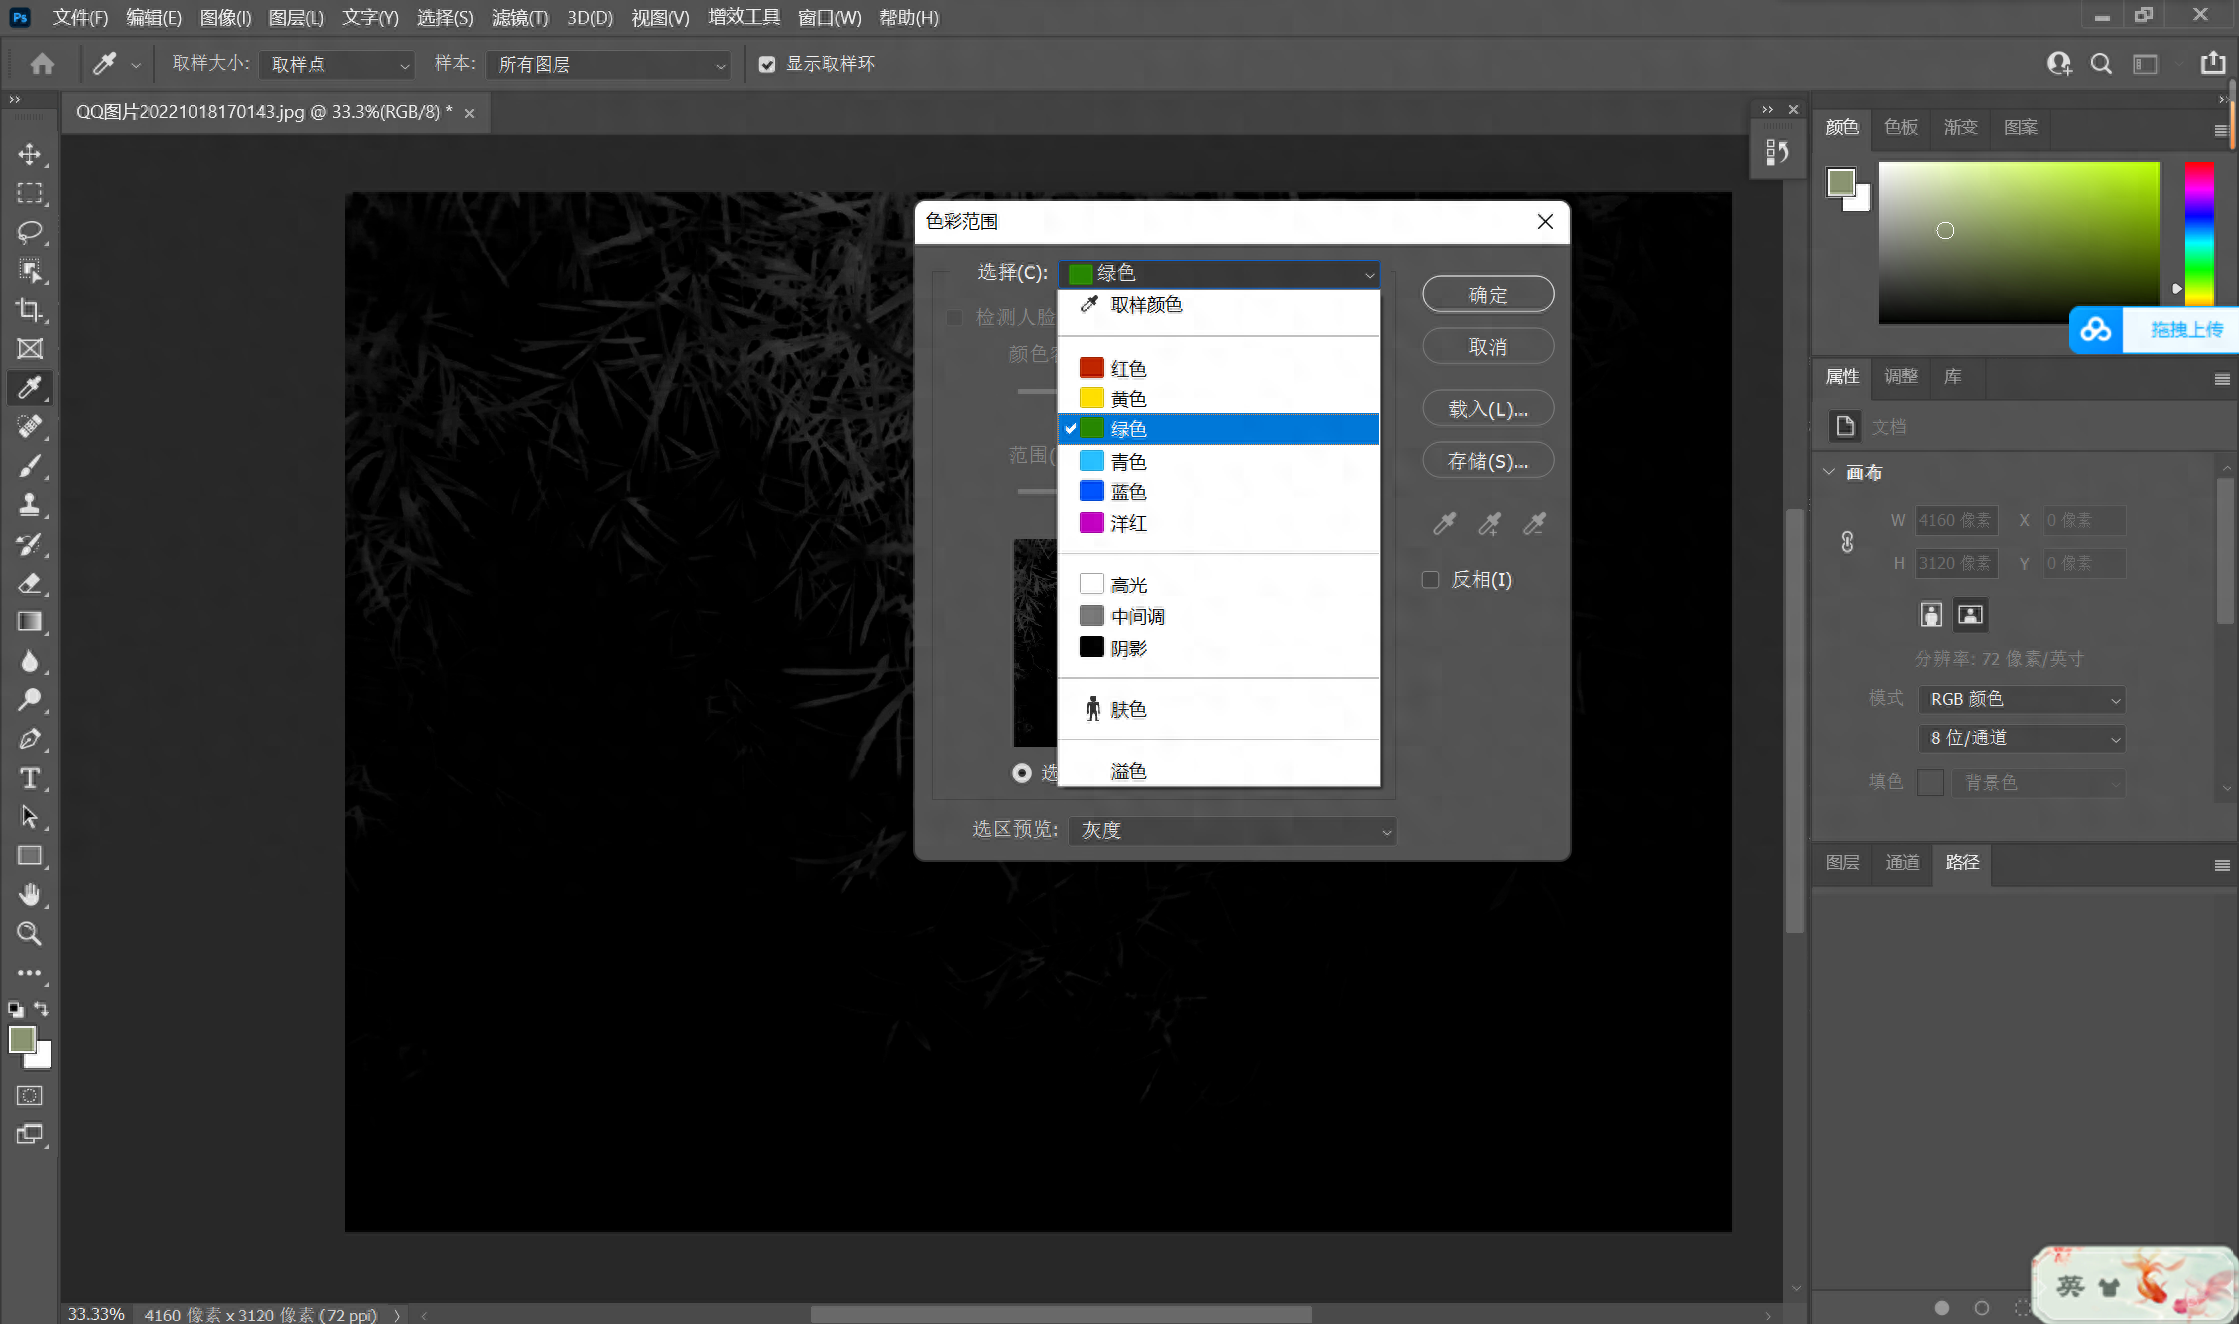
由于素材原因,选择已有颜色(绿色)时,有警告:任何像素不大于50%,选区边将不可见。
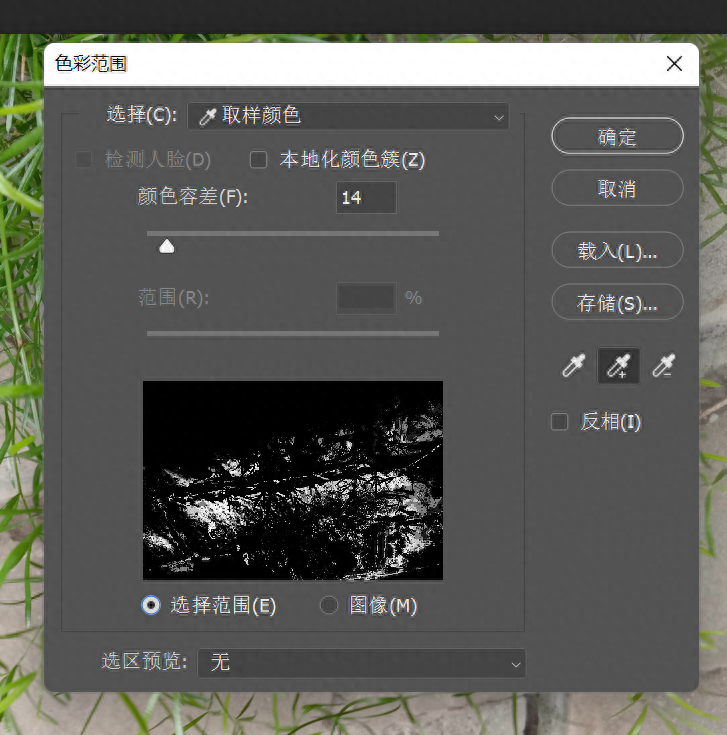
这时,我们选择取样颜色。由于叶子的颜色层次丰富,色块小,不
好操作,我们选择取样背景颜色,被选取的颜色在图片上的区域会变白。然后多次取样背景颜色,使背景尽可能的干净。
Find the (or S+C) in the menu bar.At this time, you can an or a .
Due to the , when the (), is a : if any is less than 50%, the edge of the area will not be .
At this time, we the . the of are rich and the are , it is to . We to the , and the area of the on the will .
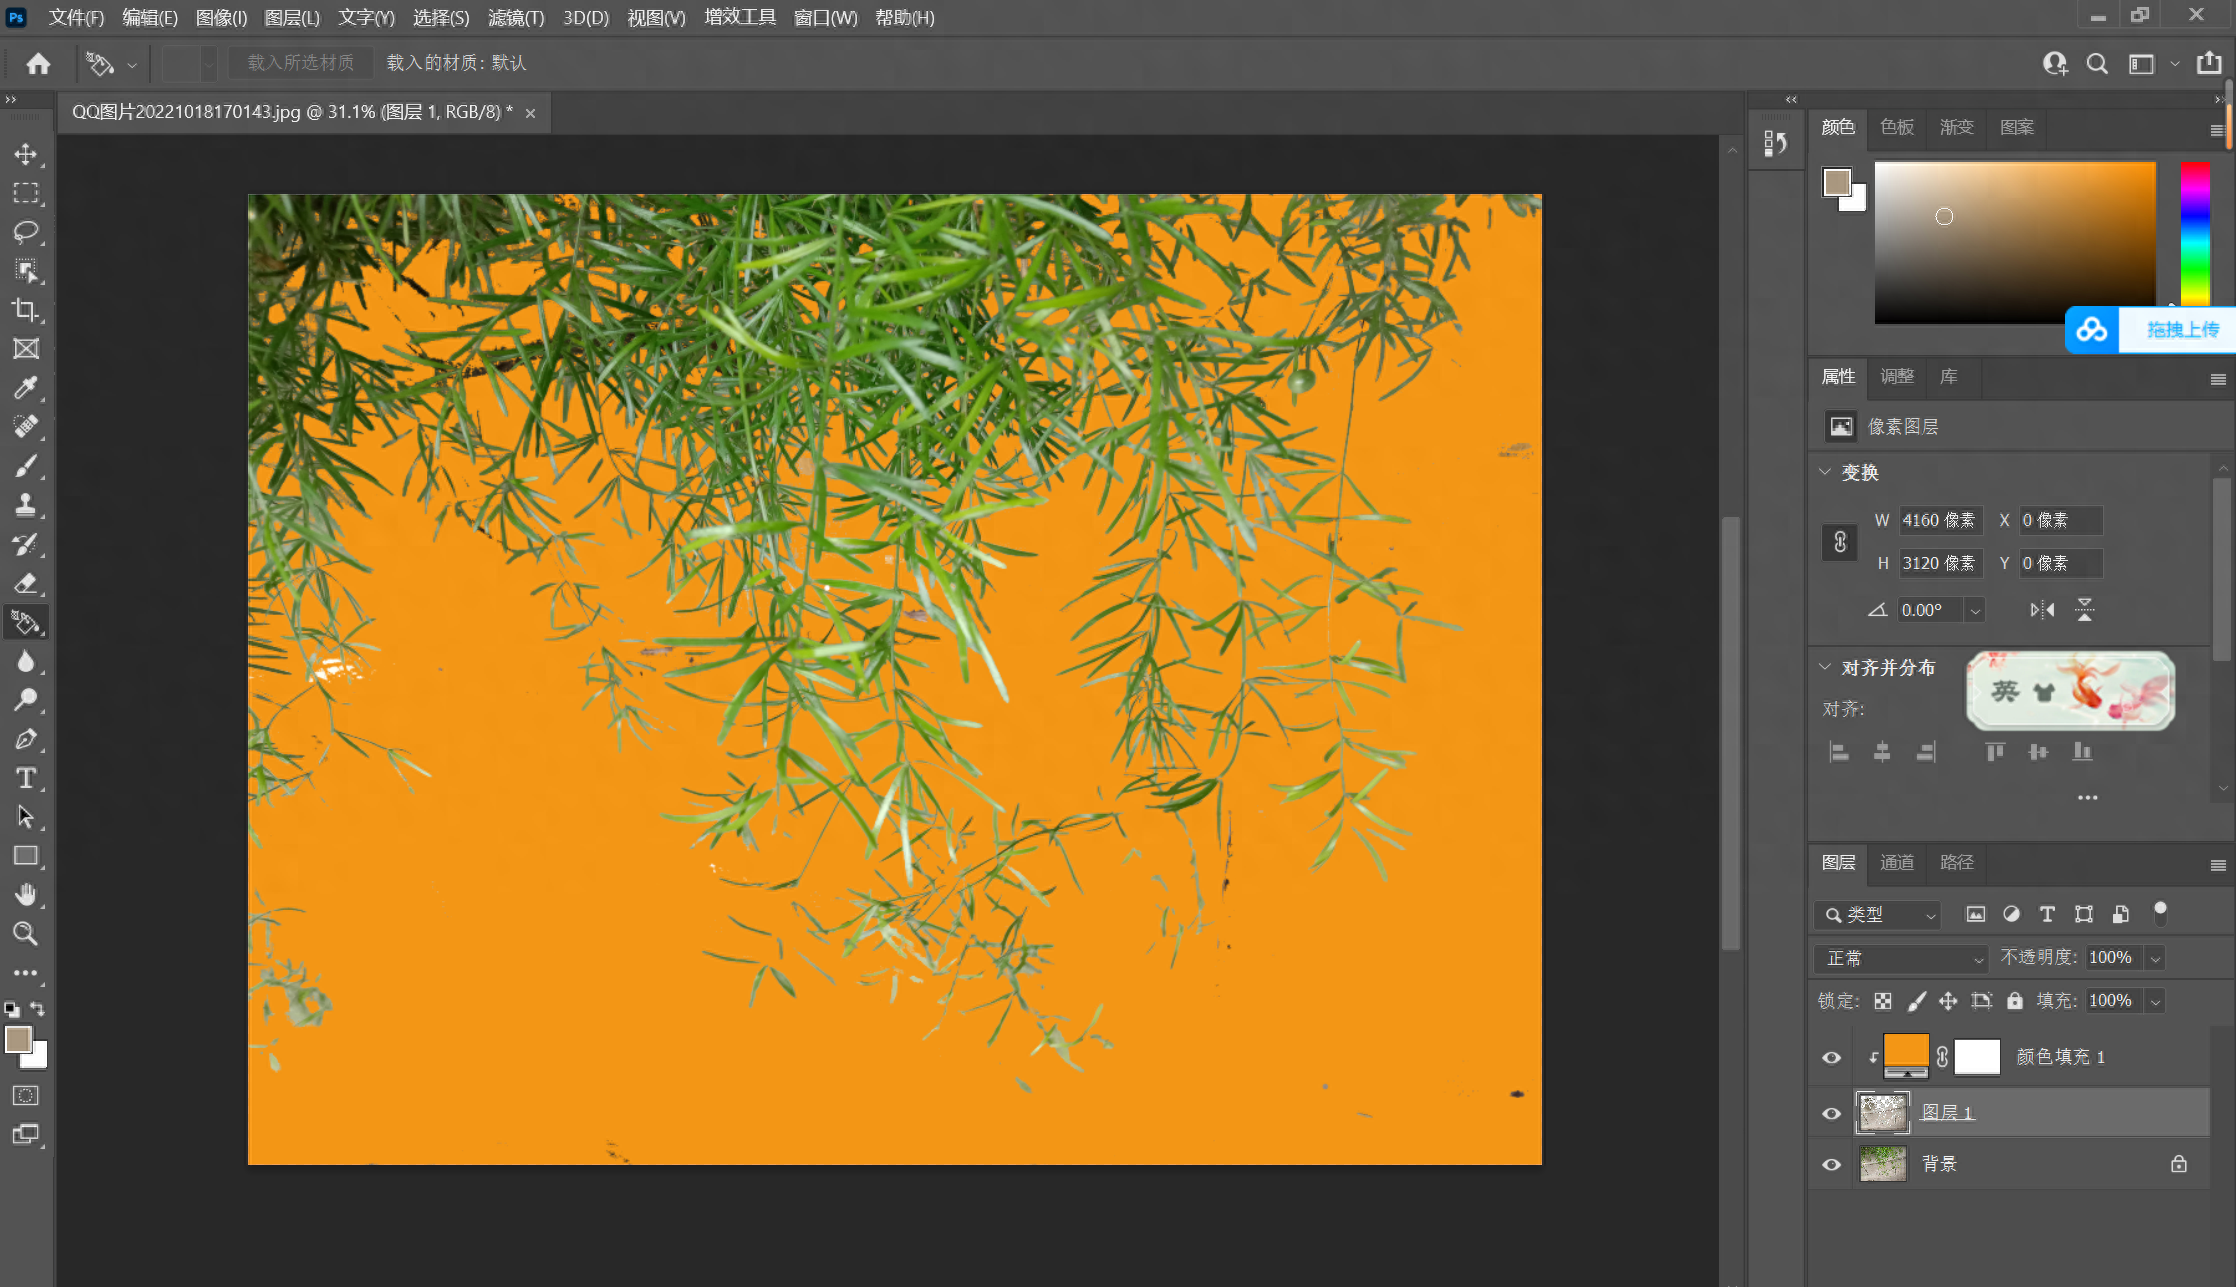
“Ctrl+J”一键建立新图层。
Then the to make the as as .
"Ctrl+J" a new .
再新建填充图层,勾选“使用前一图层创建剪贴蒙版”ps如何给指定区域填充颜色,选择填充的颜色。
Then a new fill , “Use the to a mask”, and the fill .
选择橡皮擦,按住“Alt”修饰细节。
the and “Alt” to the .
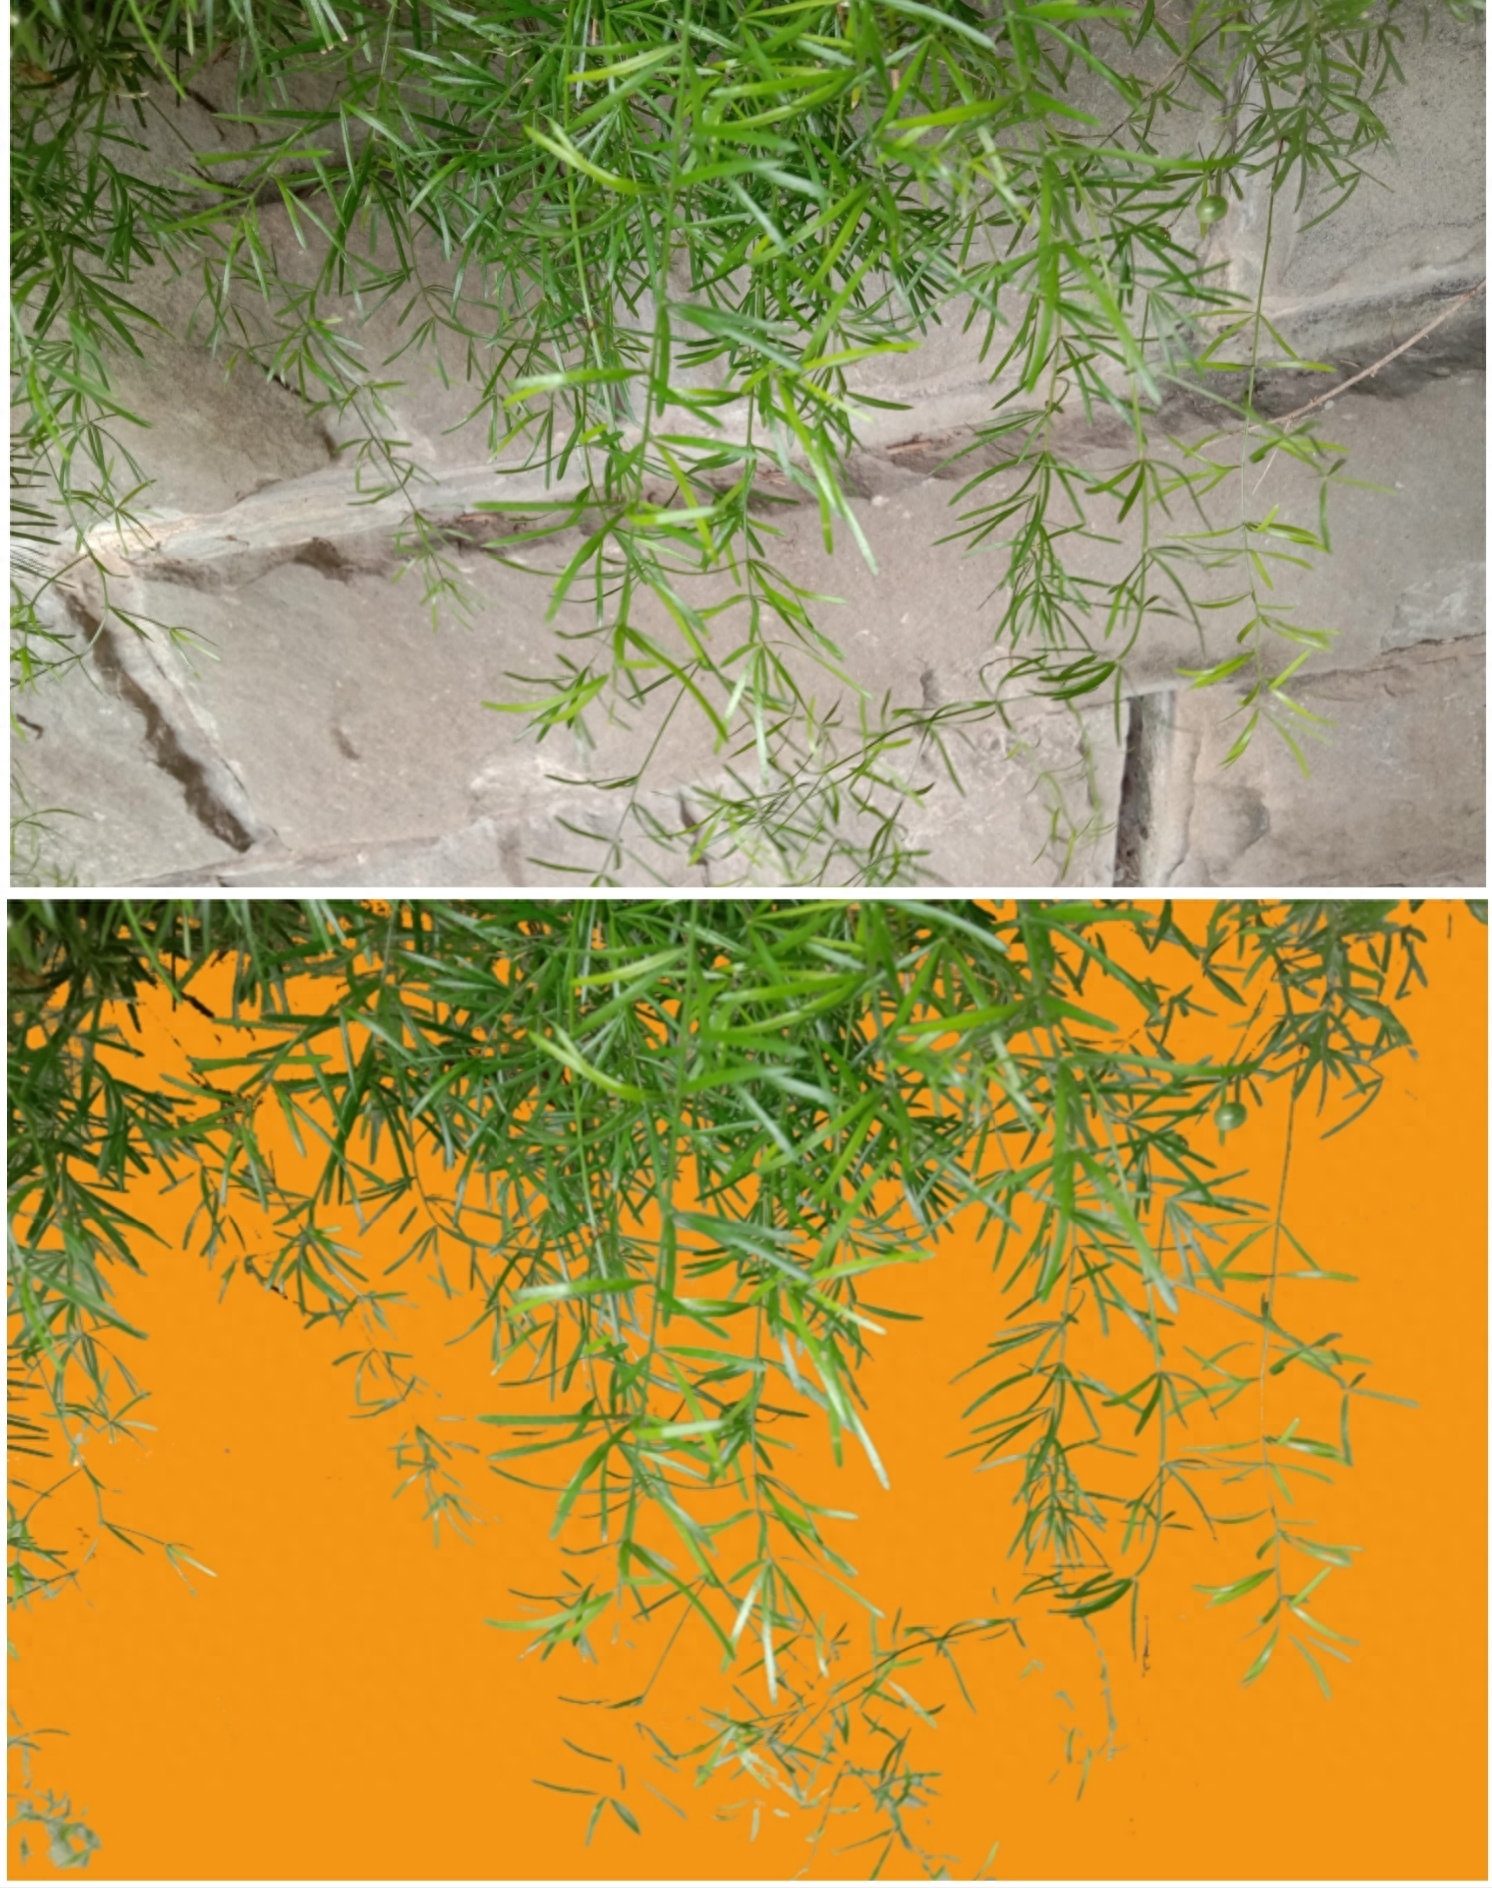
最后“+Ctrl+E”合并可见图层。
, "+Ctrl+E" the .
今天的分享就到这里了ps如何给指定区域填充颜色,如果您对文章有独
特的想法ps如何给指定区域填充颜色,欢迎给我们留言。
让我们相约明天,祝您今天过得开心快
乐!
That's all for 's . If you have a
idea the , us a
, and let us meet . I wish
you a day!
参考资料:百度翻译
本文由新学苑整理并发出,如有侵权请后台留言沟通。
免责声明:本文系转载,版权归原作者所有;旨在传递信息,不代表本站的观点和立场和对其真实性负责。如需转载,请联系原作者。如果来源标注有误或侵犯了您的合法权益或者其他问题不想在本站发布,来信即删。
声明:本站所有文章资源内容,如无特殊说明或标注,均为采集网络资源。如若本站内容侵犯了原著者的合法权益,可联系本站删除。